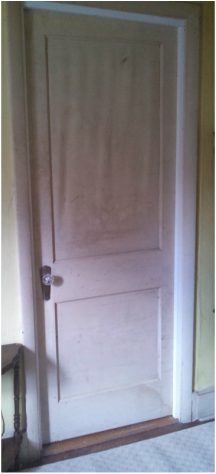
 This is the door we found in the barn
 Renovating an old door
A couple of months ago we had a bathroom in our house renovated, which was a messy job. An old farm house has character- which is to say that it is not always straight! Over 150+ years, it shifts. The carpenter however did a great job and now everything looks straight.
I was however always puzzled why our bathroom door looked so different from the other doors on the same floor. It was a modern hollow plywood door and not the ‘old style solid wood’ door with a frame of stiles and rails. (Stiles are the vertical and rails the horizontal boards. The ‘empty spaces’ between the stiles and rails are filled with laminated wood panels- a version of plywood.)
Plywood was invented in 1797 by the British naval engineer Samuel Bentham and improved fifty years later by Immanuel Nobel in 1928, and the first standard-sized 4 ft by 8 ft (1.2 m by 2.4 m) plywood sheets were introduced in the United States for use as a general building material.
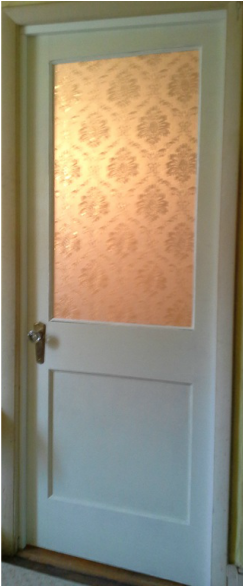
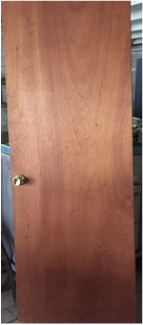 This is the plywood door that we replaced.
 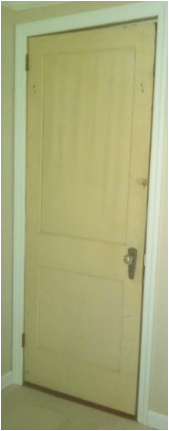 This is the "barn" door from the inside
 As you can see in the pictures, the water-damaged wavy top panel needed to be replaced. There would also be some frame trim work to be done, but we now had a period door that fit.
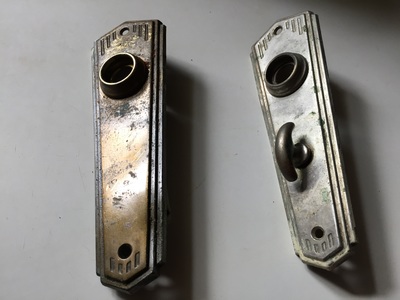
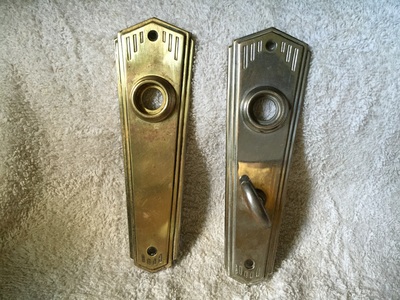
To renovate the door, we began with taking off the hardware. Here we ran into the first of many problems: the set screws for the knobs did not turn. After three days of oiling and heating they let go. I had bought commercial brass cleaner and worked on the plates, but they stayed rusted and dull. I remembered an old household remedy- vinegar! I put the plates, knobs, the lock and hinges into a vinegar bath for an hour. After that all the grime and paint came off and the plates began to sparkle.
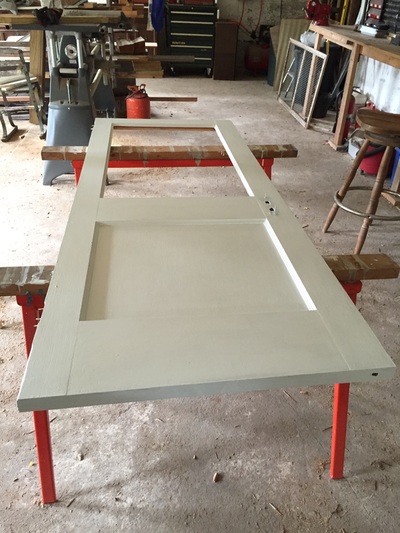
Taking the panel out was easy. The panel was held in a groove in the stiles and rails. They had put trim pieces around the openings for extra support. So on one side of the door we had to remove the trim to pop out the de-laminated panel. Nowadays you put trim on with tiny nails which you can pull out easily if you have to. So we were looking for the little nail heads and could not find them. At the end of the day we realized, after sawing parts of the trim out, that they had glued the trim. It was now so thoroughly bonded to the stiles and rails, that they were impossible to remove. So we had to cut them out with a router,. Fortunately, we found an almost identical trim in the store when we bought the acrylic.
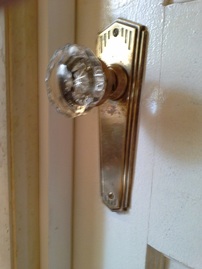 The renovated original glass knob.
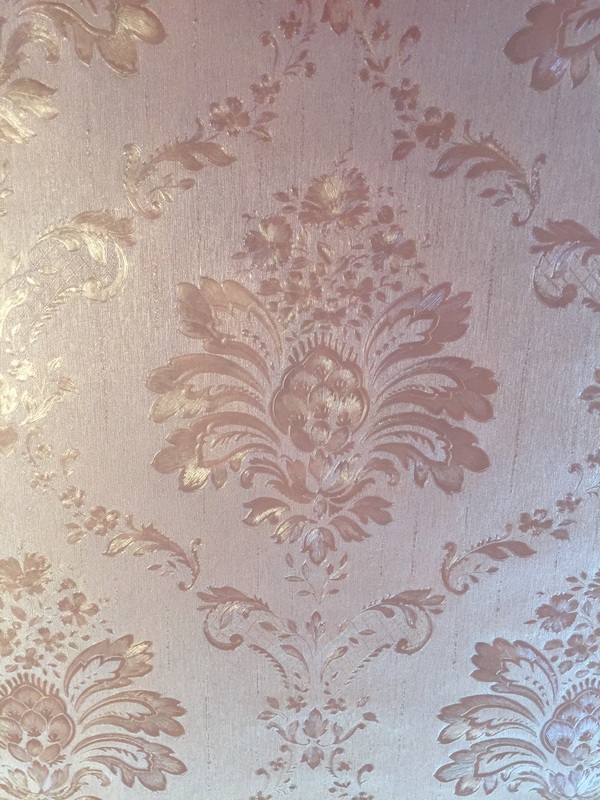
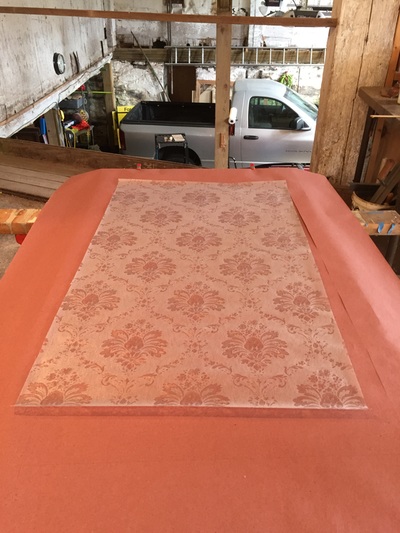
 And now the fun begins! We cut the acrylic to fit into the panel opening and used a saw blade with very fine teeth at a comparatively low speed. (Acrylic is plastic and would melt if the friction the saw blade generates would produce too much heat, but too slow leads to chipping.) Then we put the film on the acrylic and cut it to size. I was amazed that the film did cling to the acrylic without any adhesive as it was designed to do! Of course, it is additionally kept in place by the trim, which we cut to size and fastened with little nails after we painted them.
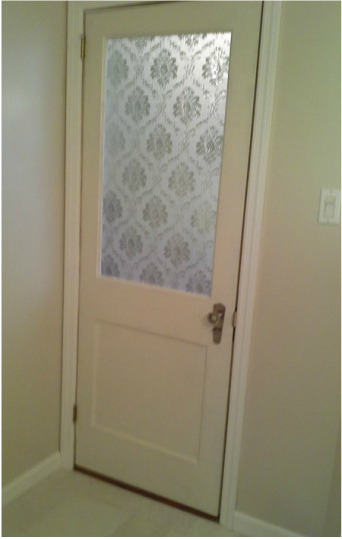
Putting the sparkling hardware on felt good. Of course we had to paint the little nail heads and covered other minor blemishes, but this job was small. Now, for less than $100, we have a beautiful 'new' period door!
 RSS Feed